

Make your Pixel Art Trees look good!
In Godot Game Engine

Welcome to Nekoto's Brain Bash!
Lets make hard concepts easier for newbies!
Assets I will be using
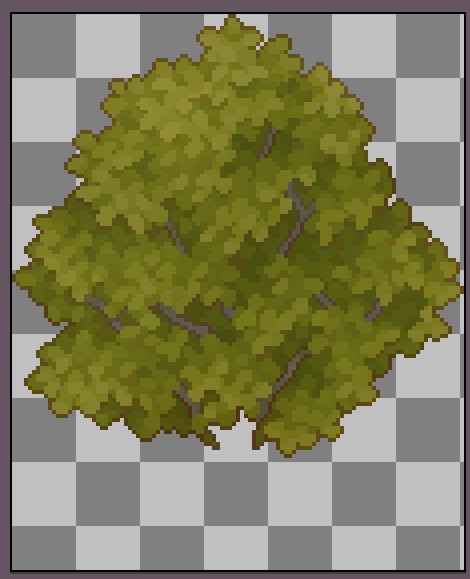
The Tree from this free asset pack on itch.io
Pixel Art Top-Down Basic by Cainos
My Pixel Art is already good, do I need to do this?
Not necessarily, but it will put a lot of life into your tree when placed in the game world.
For most RPGs, trees make up a lot of their map since they're such basic vegetation for the world. Due to this, player see trees quite often.
Static Trees may look good but are no fun, all you can really do is bump into them but they don't feel alive at all!
Real Trees have leaves that wave around as the wind blows and also shed leaves sometimes.
How do we juice our Trees?
We're going to make 2 main changes:
- Waving Leaves
- Flying Leaves
Very simple, very juicy, and very much alive!
One small initial step
We need to head back to our pixel art program, I will be using Aseprite but you can use whatever you like.
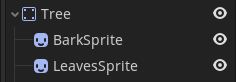
Open up your Tree and separate the Leaves and the Bark into separate layers like so:
Now export them as separate images: bark.png and leaves.png
The names of the file are not important, just that they are separate files
Waving Leaves
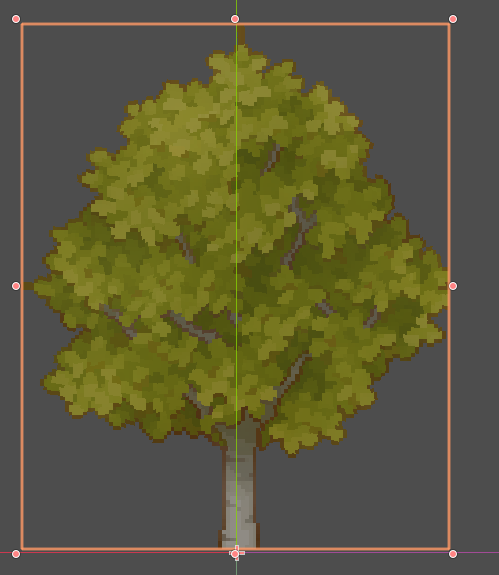
In Godot, create a StaticBody2D for our Tree, and 2 sprites - the Bark and the Leaves
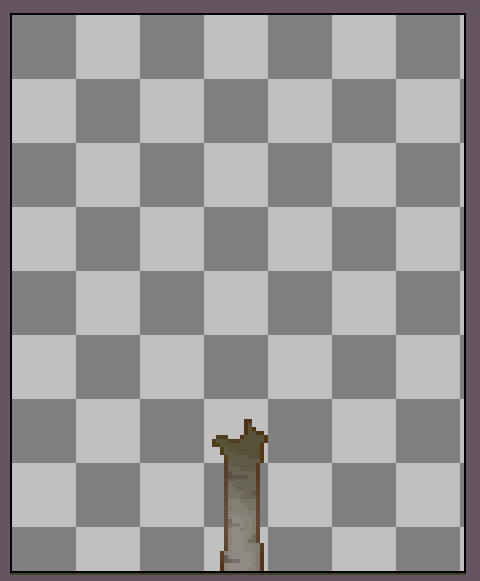
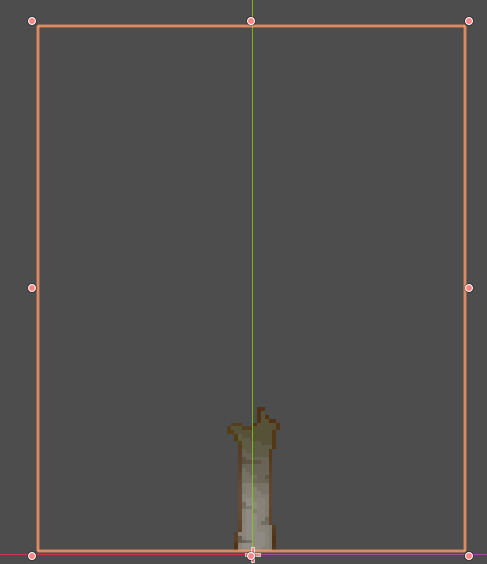
Position that Bark, such that its origin point is at the bottom of the Bark:
Now bring in the Leaves and align it with the tree
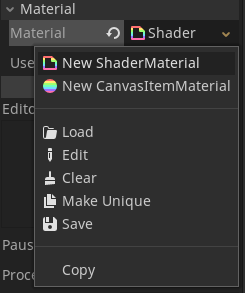
On the Leaves Sprite, go to the Materials section in the Inspector and create a new ShaderMaterial
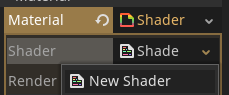
Open up the ShaderMaterial and create a new Shader
Now we're ready to make our leaves wave! Let's start by defining our shader to be a 2D shader
shader_type canvas_item;
To make our leaves wave, we need to make sure that each pixel of the shader has a pseudo-random distortion, so you know what that means - its time for some noise textures!
Define 3 textures:
- Our leaves albedo texture
- 2 noise textures
uniform sampler2D albedo_texture : hint_albedo;
uniform sampler2D noise_texture : hint_albedo;
uniform sampler2D noise_texture2 : hint_albedo;
We're using 2 noise textures for increased variation in our waving effect.
Now for the parameters that control our waves:
uniform float distortion = 0.058;
uniform vec2 offset = vec2(0.0);
uniform float time_scale = 0.2;
distortion will control the strength of the waves
offset is used to re-align the texture after the UV offset has been added by the distortion
time_scale controls how fast the waves are
Now lets make all of it actually work.
Create the fragment function:
void fragment(){

}
Inside the fragment function, lets get the color of our 2 noise textures. This can be done using the texture function which performs a texture lookup at the specified UV coordinate. The current UV is already given to us as a variable we can use, so we simply write:
vec3 noise_color = texture(noise_texture, UV).rgb * distortion;
vec3 noise_color2 = texture(noise_texture2, UV).rgb * distortion;
We multiply them with distortion in order to control their strength.
However, we want the noise to move, according to our time_scale uniform. To do this, we use the built-in TIME variable and multiply it with our time_scale uniform, then we add this to our UV.
But then both of our noise textures would move in the same way, and there would be effectively no variation between the textures. To combat this, we will move the second noise texture only vertically.
vec3 noise_color = texture(noise_texture, UV + TIME * time_scale).rgb * distortion;
vec3 noise_color2 = texture(noise_texture2, vec2(UV.x, UV.y - TIME * time_scale)).rgb * distortion;
Now let's take the average of both these noise textures when overlayed on top of each other:
vec3 combined_noise = noise_color + noise_color2;
combined_noise /= 2.0;
Finally, we use our combined noise to distort the UVs of the leaves texture, but make sure to add our offset as without it, our texture will be moved into an odd position and will be clipped by the sprite node.
COLOR = texture(albedo_texture, UV + combined_noise.rr + offset);
Here's the whole code if you want to copy it over:
shader_type canvas_item;

uniform sampler2D albedo_texture : hint_albedo;
uniform sampler2D noise_texture : hint_albedo;
uniform sampler2D noise_texture2 : hint_albedo;

uniform float distortion = 0.058;
uniform vec2 offset = vec2(0.0);
uniform float time_scale = 0.2;

void fragment(){
    vec3 noise_color = texture(noise_texture, UV + TIME * time_scale).rgb * distortion;
    vec3 noise_color2 = texture(noise_texture2, vec2(UV.x, UV.y - TIME * time_scale)).rgb * distortion;
    vec3 combined_noise = noise_color + noise_color2;
    combined_noise /= 2.0;
    COLOR = texture(albedo_texture, UV + combined_noise.rr + offset);
}
Setting up the material
We need to actually put noise textures for our material, as well as the leaves texture.
In the Inspector, you should see a new section called Shader Param
Open it up and place the Leaves texture in the Albedo Texture slot.
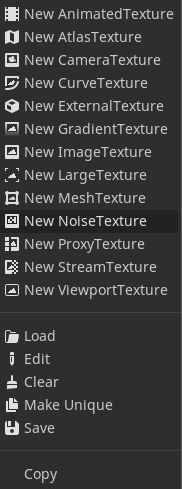
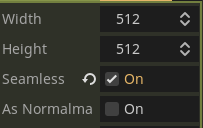
As for the noise textures - click on them and select New NoiseTexture
Open it up, and check the Seamless option
For the noise, click and select New OpenSimplexNoise
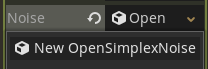
Open up the noise and raise the Octaves to 6
Repeat all this for the other noise texture but set the seed to a different number on the second noise texture
What it should look like now:
Flying Leaves
Open up your Pixel Art program and make a very small leaf sprite. Make sure that the leaf's color is plain white #FFFFFF
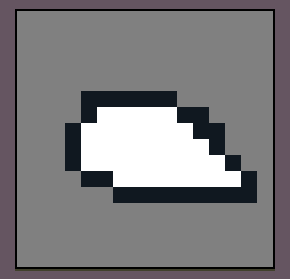
This is important because we are going to set the color in Godot and not here.
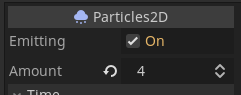
Back in Godot, create a new Particles2D node and make sure it is emitting. Set the amount to a low number like 4.
In the Inspector, under the Process Material section, create a new ParticlesMaterial and open it up, do this the same way we create our ShaderMaterial from earlier.
You should now see a bunch of white dots falling. However, we don't want them to fall.
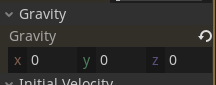
Open up the ParticlesMaterial and go to the Gravity section. Set the gravity to 0 for all the axis.
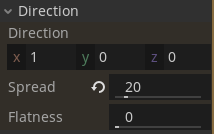
Open up the Direction section and set the spread to a low angle, such as 20 so that out leaves don't look erratic.
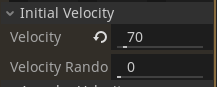
Now lets make them move. Head over to the Initial Velocity section and give them some initial velocity
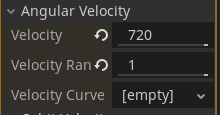
Also lets make them rotate at random speeds. Go to the Angular Velocity section and set the velocity to max, as well as the randomness to max.
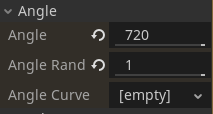
They should also spawn at random angles, so go to the Angle section and do the same thing.
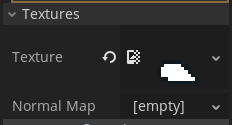
Now for the last 2 steps. Open up the Textures section in the Inspector (Not in the ParticlesMaterial) and place your leaf texture in there.
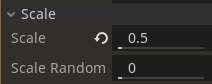
Head back to the ParticlesMaterial and adjust the Scale parameter so that it fits your tree.
The leaves just disappear after a certain distance which looks a little weird. Let's fix that. You may have noticed the Scale Curve property under the Scale section. Open it up and create a new CurveTexture.
If there is no Curve already created, make one and open it up. You should see this now:
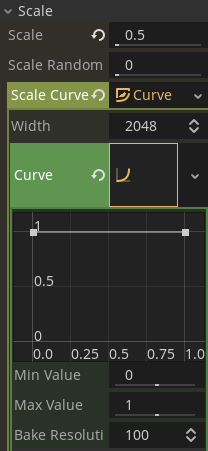
Click on the second point, and drag it down to the bottom
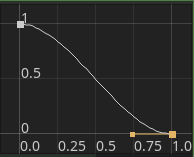
Now adjust the handle so the the curve takes longer to drop:
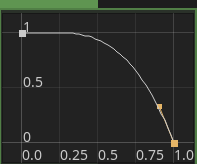
Now our leaves shrink out which looks much better!
Finally, let's fix the color of our leaves. Head over to the Color section and open up the color editor.
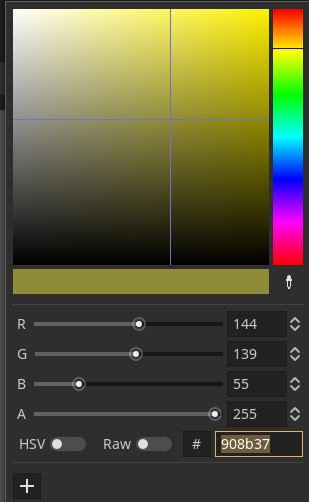
You should see a little color-picker icon, use it to select the color of your tree.
There we go! A much more lively looking pixel art tree!
Final Product
My Links
Find my games on itch.io
Find my work on GitHub

